
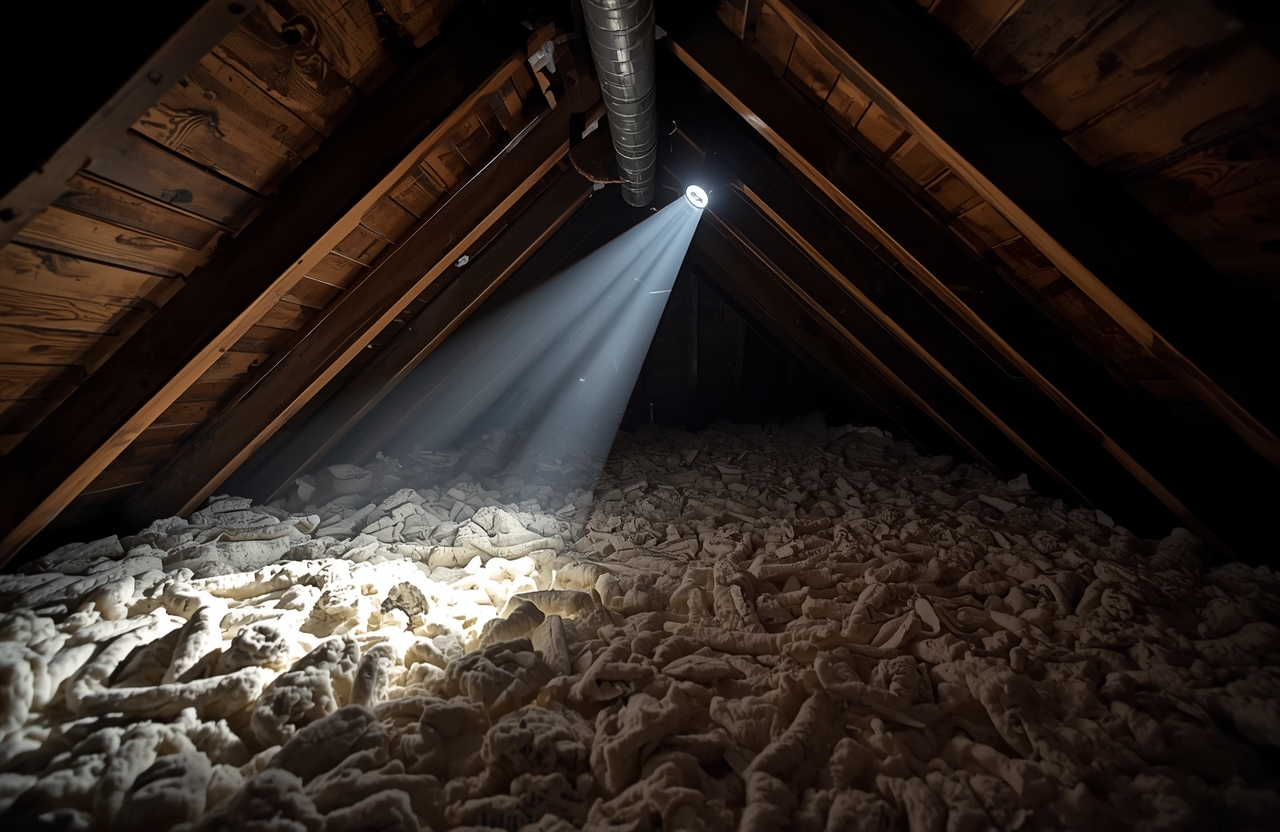
People usually find attic mold by accident: a trip up the ladder for the holiday boxes, a roofer who mentions it, or a home inspector's report before a sale. They see the underside of the roof boards or plywood covered in dark spots or a gray-black bloom, sometimes with frost or damp insulation, and wonder what it means for the house. The good news is that attic mold is common, usually has a clear cause and is fixable. This page explains what causes it in this part of Pennsylvania, how to tell the causes apart, how an attic is cleaned and what keeps mold from returning.
For the general sequence of a mold job, see mold removal. If you are not sure what you have, mold inspection and testing explains what a visit includes.
What attic mold looks like
- Black, gray or white speckling on the underside of the roof sheathing, rafters and the tops of the ceiling joists.
- Staining that is heaviest near the roof ridge, around bath fan outlets or around the chimney, and often lighter where the air moves.
- Nail tips with frost or rust in winter, and damp spots on the insulation after a cold snap.
- Insulation that looks flattened, discolored or clumped.
- A musty smell that comes down through the ceiling hatch or a closet.
- Mold on the attic side of the ceiling drywall or plaster, which shows from below as stains on the ceiling.
Why attics here grow mold
A winter attic is supposed to be about the same temperature as the outdoors, so the roof deck stays cold and dry. Mold appears when something breaks that arrangement.
Warm, humid indoor air leaks upward. Every house leaks some air into the attic around ceiling light fixtures, the access hatch, plumbing and wire penetrations, the tops of interior walls and chimney chases. Winter indoor air carries moisture from cooking, showers, laundry and people breathing. When that air reaches the cold underside of the roof it condenses or turns to frost. A cold snap followed by a warm spell melts the frost and soaks the wood. Repeat for several winters and the wood grows mold.
Bath fans and dryer vents that end in the attic. This is among the most common causes in older houses. A bathroom fan whose duct was never connected to the outside, or a duct that lost its connection, pours a shower's worth of moisture into the attic every day.
Missing or poorly placed ventilation. Soffit vents, ridge vents and gable vents let outdoor air flow under the roof and carry moisture away. Many older houses had little, and insulation added later is often pushed over the soffit openings and blocks the airflow. A common building-code guide is one square foot of vent area for every 150 square feet of attic floor, with the vents split between the low and high parts of the roof, though local code and the specifics of the house govern.
Too little insulation, or uneven insulation. Gaps and thin areas let heat leak into the attic and warm patches of the deck, which melts snow and forms ice dams at the eaves.
Roof leaks. A cracked flashing at the chimney, a failed vent boot, a worn valley or missing shingles drip into the attic. A slow leak darkens one stain on the wood and the insulation under it.
Ice dams. Snow on a roof melts over warm spots, runs to the cold eaves and refreezes into a dam, forcing water under shingles and into the attic and ceiling. Pittsburgh gets enough snowy, freeze-thaw winters for ice dams to be a real source of attic moisture.
Ducts and equipment. Uninsulated ductwork running through an attic sweats in humid weather and drips onto the insulation. A leaking condensate line from an air handler adds more water.
Telling the causes apart
The pattern of the stain is a clue.
- Widespread, even speckling on the roof boards across the attic, worst on the north-facing slope and near the ridge, usually points to condensation from air leaks and poor ventilation.
- A concentrated stain near a bathroom fan or vent pipe points to that fan or vent.
- A single wet spot below a chimney, vent stack or valley that is darkest after rain points to a roof leak.
- Staining at the eaves only, with water marks on the soffit or ceiling edges, points to ice dams.
- Staining on the insulation only, with the wood dry, may point to ducts or a leaking line.
A moisture meter on the wood and a look from the roof or ladder usually confirm it.
Attics in older Pittsburgh houses
A large share of Pittsburgh and inner-suburb houses were built before 1950, and their attics have features that matter for mold.
Board sheathing. Many have wide, gapped boards instead of plywood. Gaps leak air and give mold a lot of surface, and the boards are often old, dry and dusty. Cleaning them takes more brushing and more vacuuming than plywood.
Little or no ventilation. Older attics may rely on a gable vent or two. Later insulation upgrades can make them worse.
Knob-and-tube wiring. In some of the oldest houses, ceramic knob-and-tube wiring remains in the attic. It should not be buried in insulation, and an electrician should look at it before an insulation or ventilation project. A mold specialist who sees it should say so.
Vermiculite insulation. A loose, pebble-like insulation that looks like small gray-gold flakes can contain asbestos. Do not disturb it, do not vacuum it, and have it tested before any work in the attic. In Allegheny County the Allegheny County Health Department enforces asbestos rules for renovation and demolition.
Lead paint. Rafters and trim in a pre-1978 house may carry old lead paint. Sanding painted wood needs lead-safe practices.
How attic mold is removed
Attic work follows the same logic as the rest of mold removal, adapted to a tight, hot or cold space.
- Find and stop the source. Before anything is cleaned, the cause gets fixed: a bath fan duct reconnected to the outdoors, a roof leak repaired, air leaks sealed, vents cleared or added. Cleaning an attic that keeps getting the same moisture is wasted money.
- Contain the attic. The hatch or stairway is sealed with plastic so dust does not fall into the house. Recessed lights and openings into the living space below are covered.
- Remove contaminated insulation. Moldy or wet insulation is bagged and removed. Clean, dry insulation under areas of growth may be vacuumed and left or replaced.
- Clean the wood. Sheathing and framing with surface growth are typically brushed or sanded, then HEPA vacuumed and wiped. Some specialists use soda blasting or dry ice blasting on large areas, which removes growth with less airborne dust than sanding, though it uses more equipment and cost.
- Replace what is rotten. Wood that is soft, crumbling or structurally affected is replaced by a roofer or carpenter. Sheathing replacement is a roofing job, and it is separate from mold cleaning.
- Treat or coat, only if appropriate. A coating over cleaned wood can be reasonable to protect it, but encapsulating live mold, without removing it, hides it and fails. A specialist should explain why a coating is proposed, and the underlying moisture fix still comes first.
- Re-insulate and ventilate. New or restored insulation goes in with the soffit vents left open, using baffles to hold insulation away from them.
- Check. Moisture readings on the wood and a visual check. On a large job a clearance test by an independent person may be worth including.
Why summer matters
Attic work in July is hot and the safety margin shrinks. Workers in coveralls and respirators in a 120-degree attic can suffer heat illness, so a good company schedules around heat or limits time in the space. Winter work has the opposite trouble: cold wood and frozen insulation. Spring and fall are easiest. None of that is a reason to ignore a problem, just a reason to ask about scheduling.
What it costs, in general terms
The size of the attic, the type of sheathing, the access and the cleaning method change the price a lot. As a rough national idea, cleaning a small attic can run from a few hundred to a couple thousand dollars, while a large attic with insulation removal, blasting, new insulation and a ventilation upgrade can reach several thousand or more. Roof repair, sheathing replacement and the ventilation work are usually separate trades and separate costs. The specialist quotes after seeing the attic, and a quote should list what comes out, the cleaning method and what is included.
Prevention
- Vent every bath fan, kitchen hood and dryer to the outdoors through a rigid or insulated duct, with the connection sealed.
- Seal air leaks from the house into the attic before adding insulation: the hatch, light fixtures, wire and pipe holes and the top plates of walls.
- Keep soffit vents open with baffles, and use a ridge vent or other high exhaust if the attic allows.
- Insulate the hatch and keep it weatherstripped.
- Add insulation to a recommended level for the climate zone, evenly and without covering vents.
- Keep snow and ice from building up at the eaves, and fix the heat leaks that cause ice dams.
- Check the attic a couple of times a year, in late winter and after major storms, with a flashlight and a quick look at the wood.
A flashlight walk-through
You can learn a lot in ten minutes, if the attic is safe to enter. Step only on the joists, never on the drywall between them, and wear a respirator, gloves and eye protection. Carry a flashlight and a phone for photos.
- Start at the hatch. Look at the hatch itself. Is it insulated and weatherstripped? Is there staining around its edges where warm air rises?
- Look up at the ridge and the north slope. Dark speckling that is heaviest high on the north side is the classic condensation pattern, because that side stays colder.
- Follow each bath fan. Find the fan housing in the ceiling, then follow its duct. It should run to a vent through the roof or a wall, with no gaps. A duct that stops in the open or lies disconnected under the insulation is the problem, and it is easy to fix.
- Check around chimneys and roof penetrations. Look for rust-colored streaks, dark staining and wet insulation near a chimney, a plumbing vent or a skylight shaft.
- Look down at the soffit. At the eaves, check whether insulation is pushed against the roof and covering the vent openings. You want to see a clear channel for air.
- Notice the insulation. Is it even, or are there thin spots and bare drywall? Is it flattened or discolored under a stain?
- Photograph and note. Take wide photos and close-ups with something for scale, and write down which area each belongs to.
None of this replaces a moisture meter, but it points a specialist, a roofer or an insulation contractor to the right spot, and it makes quotes more comparable because every company sees the same problem.
When to call a specialist
A light, small area of surface speckling on one roof board, with a clear cause you can fix, can be a DIY project for someone comfortable in an attic: wear a respirator, gloves and eye protection, vacuum with a HEPA vacuum and fix the cause. Call a specialist when the area is large, when insulation is involved, when asbestos or knob-and-tube wiring may be present, when someone in the house is sensitive to mold or when the staining returned after cleaning.
Related pages
If a leak soaked the attic, water damage restoration covers drying. The basement mold removal page covers the other common place, and the service areas page has notes on housing in the suburbs around Pittsburgh.